It's been a while since I've posted a lighting guide! I've been in the studio experimenting with a new lighting setup that I'd like to share with you guys.
This setup isn't based off anyone else's work. It's just something I was messing around with and really, REALLY liked. It's very simple, too, which means its going right into my regular rotation of setups.
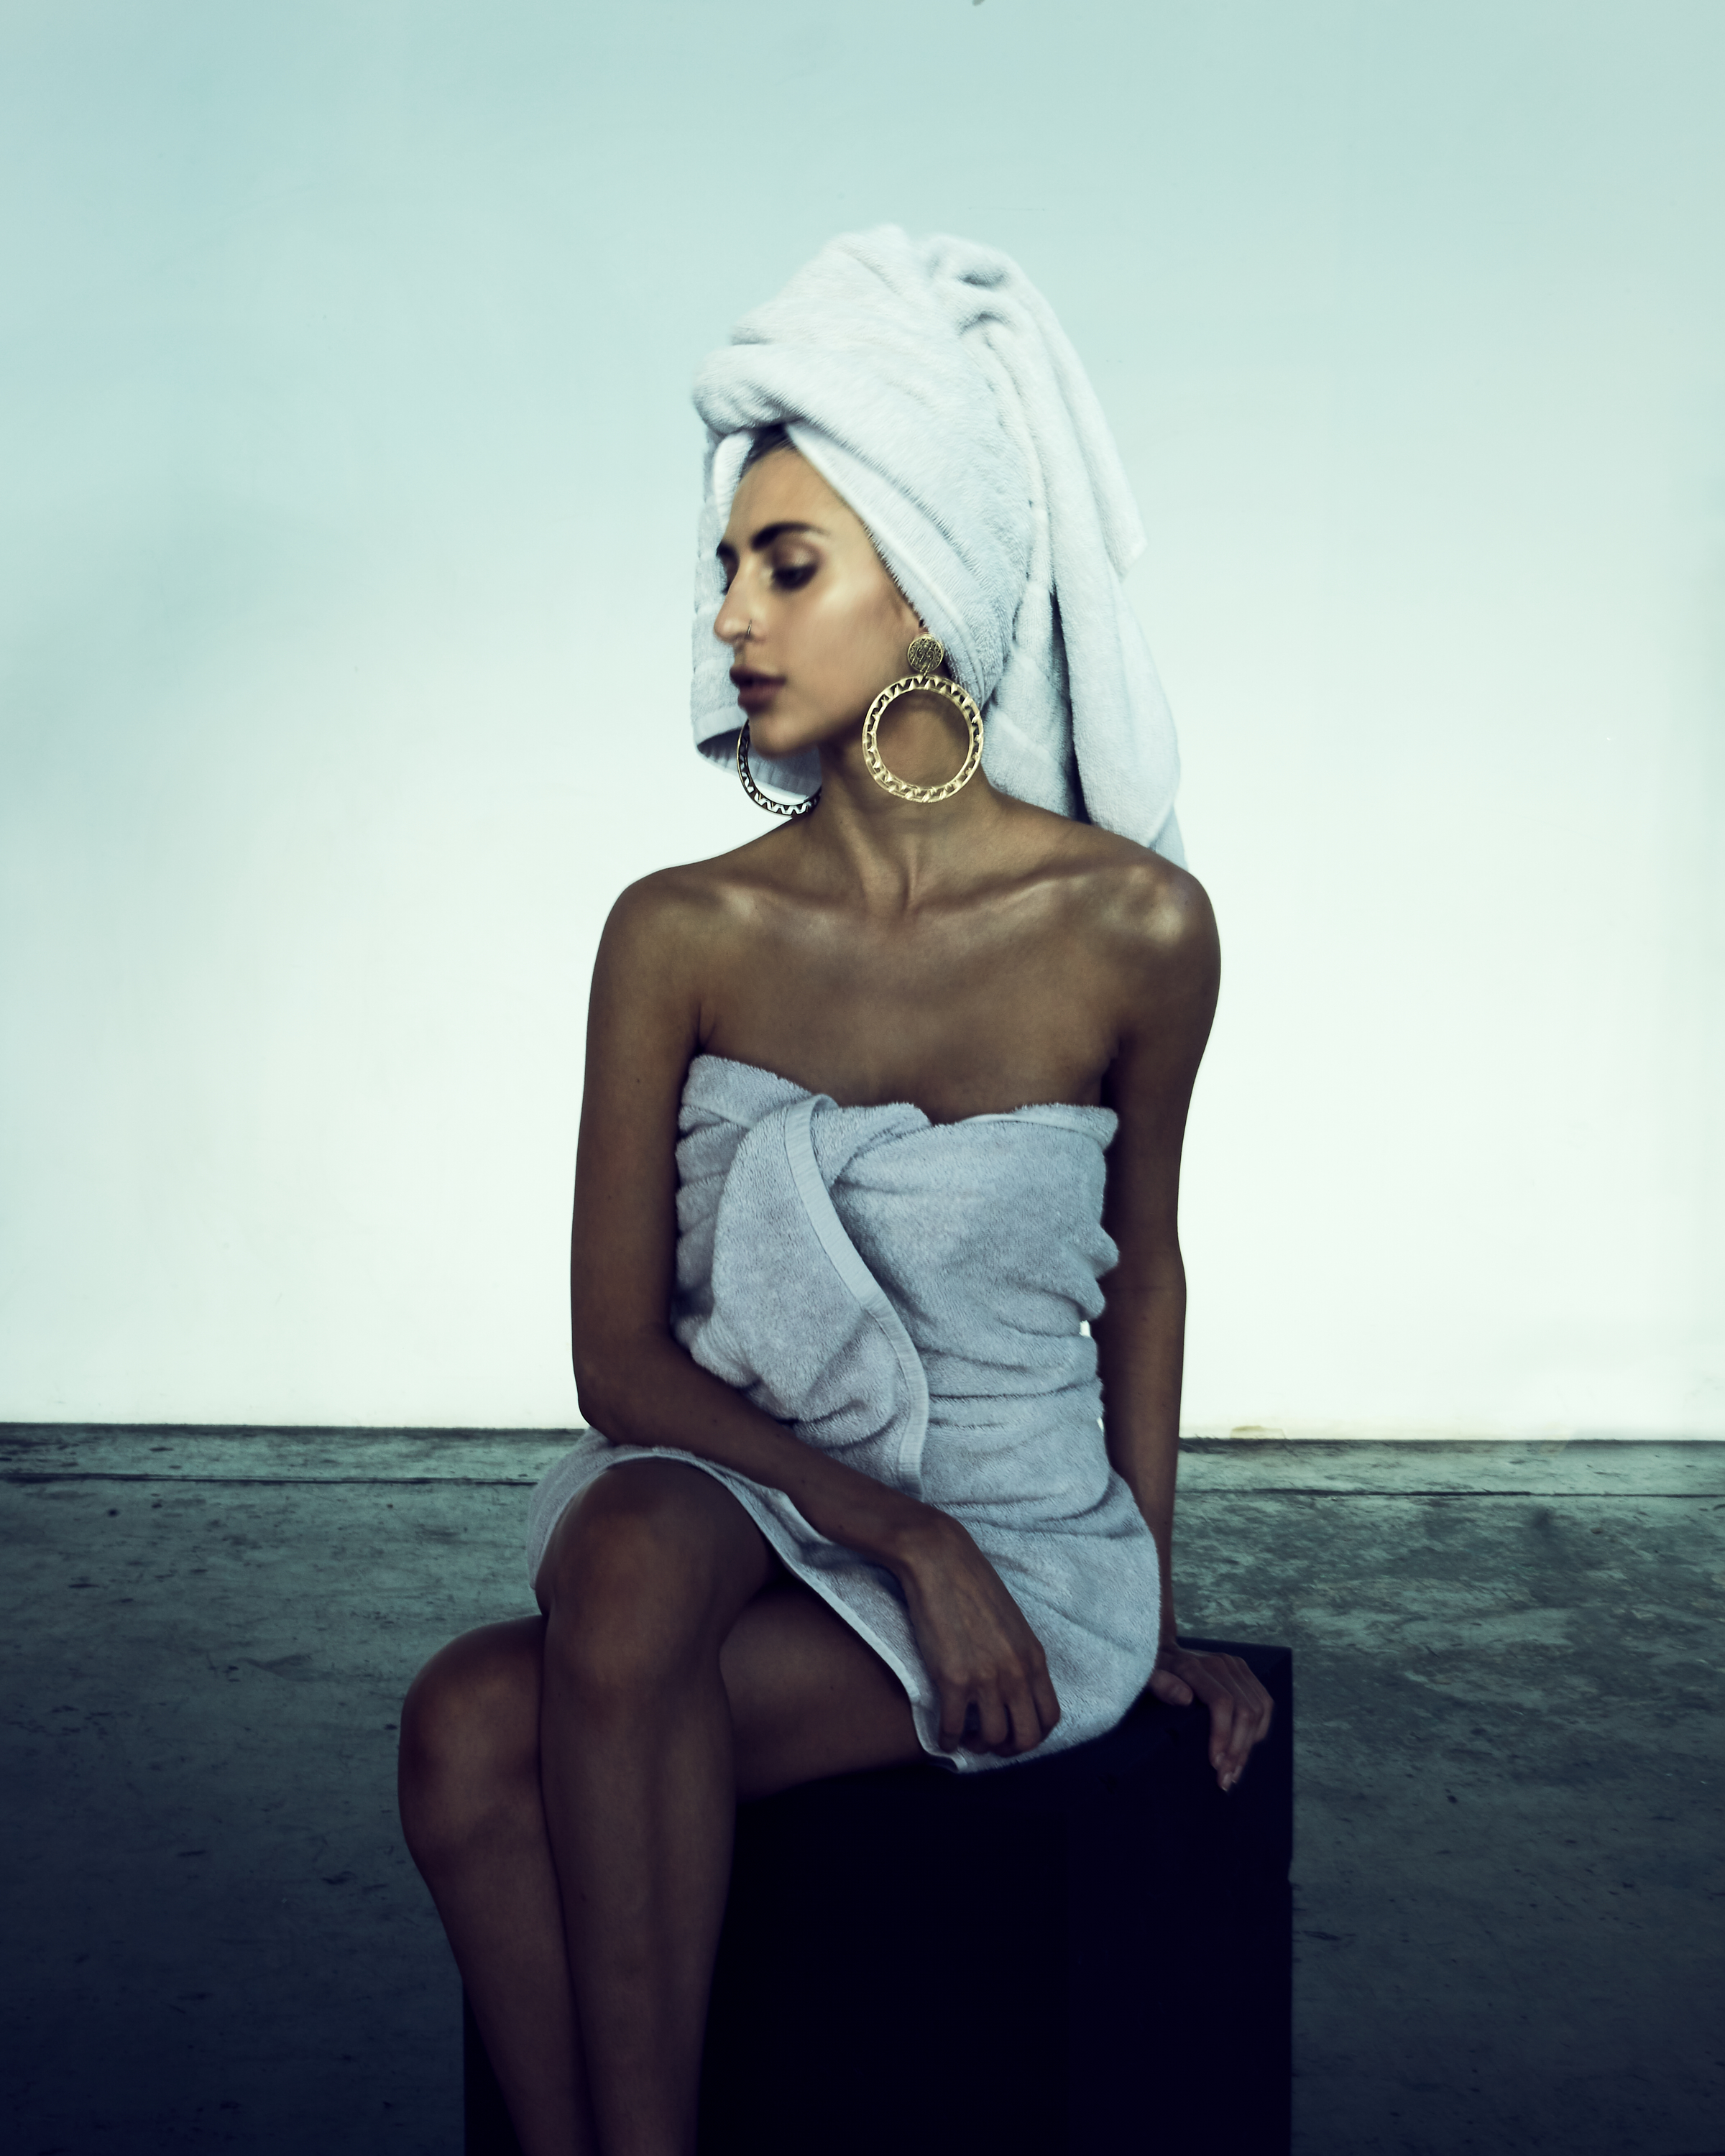
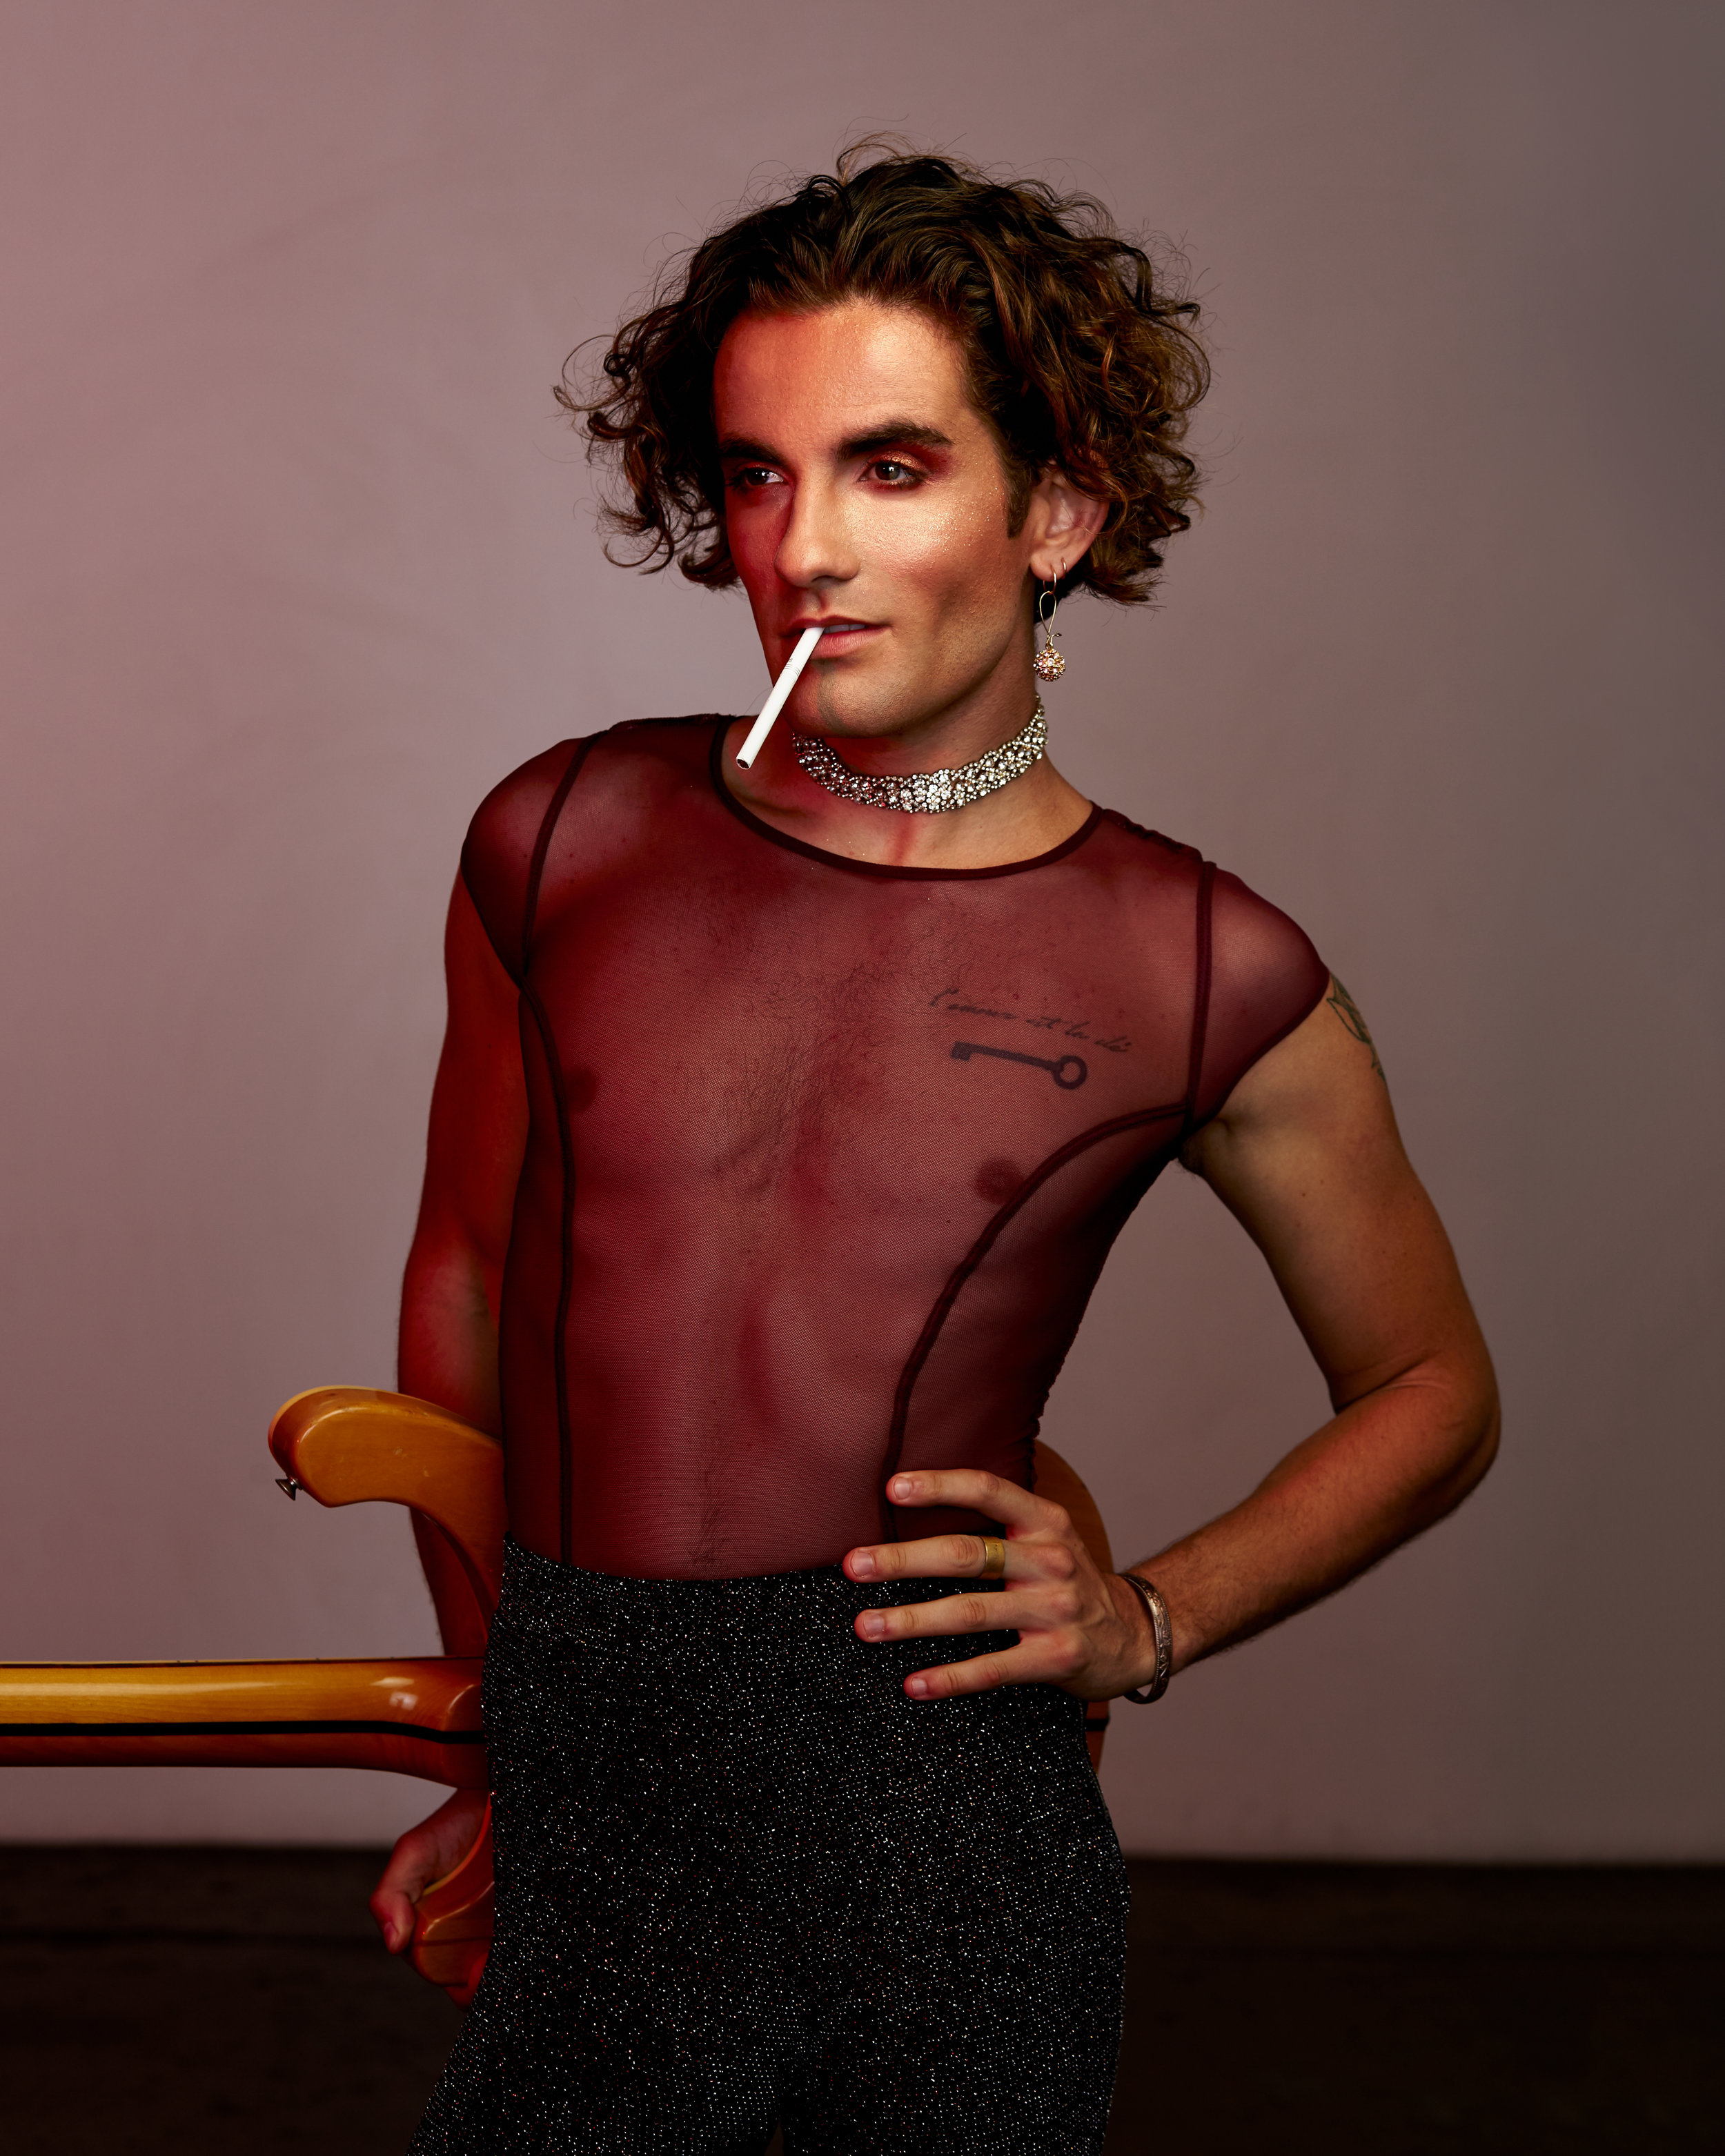
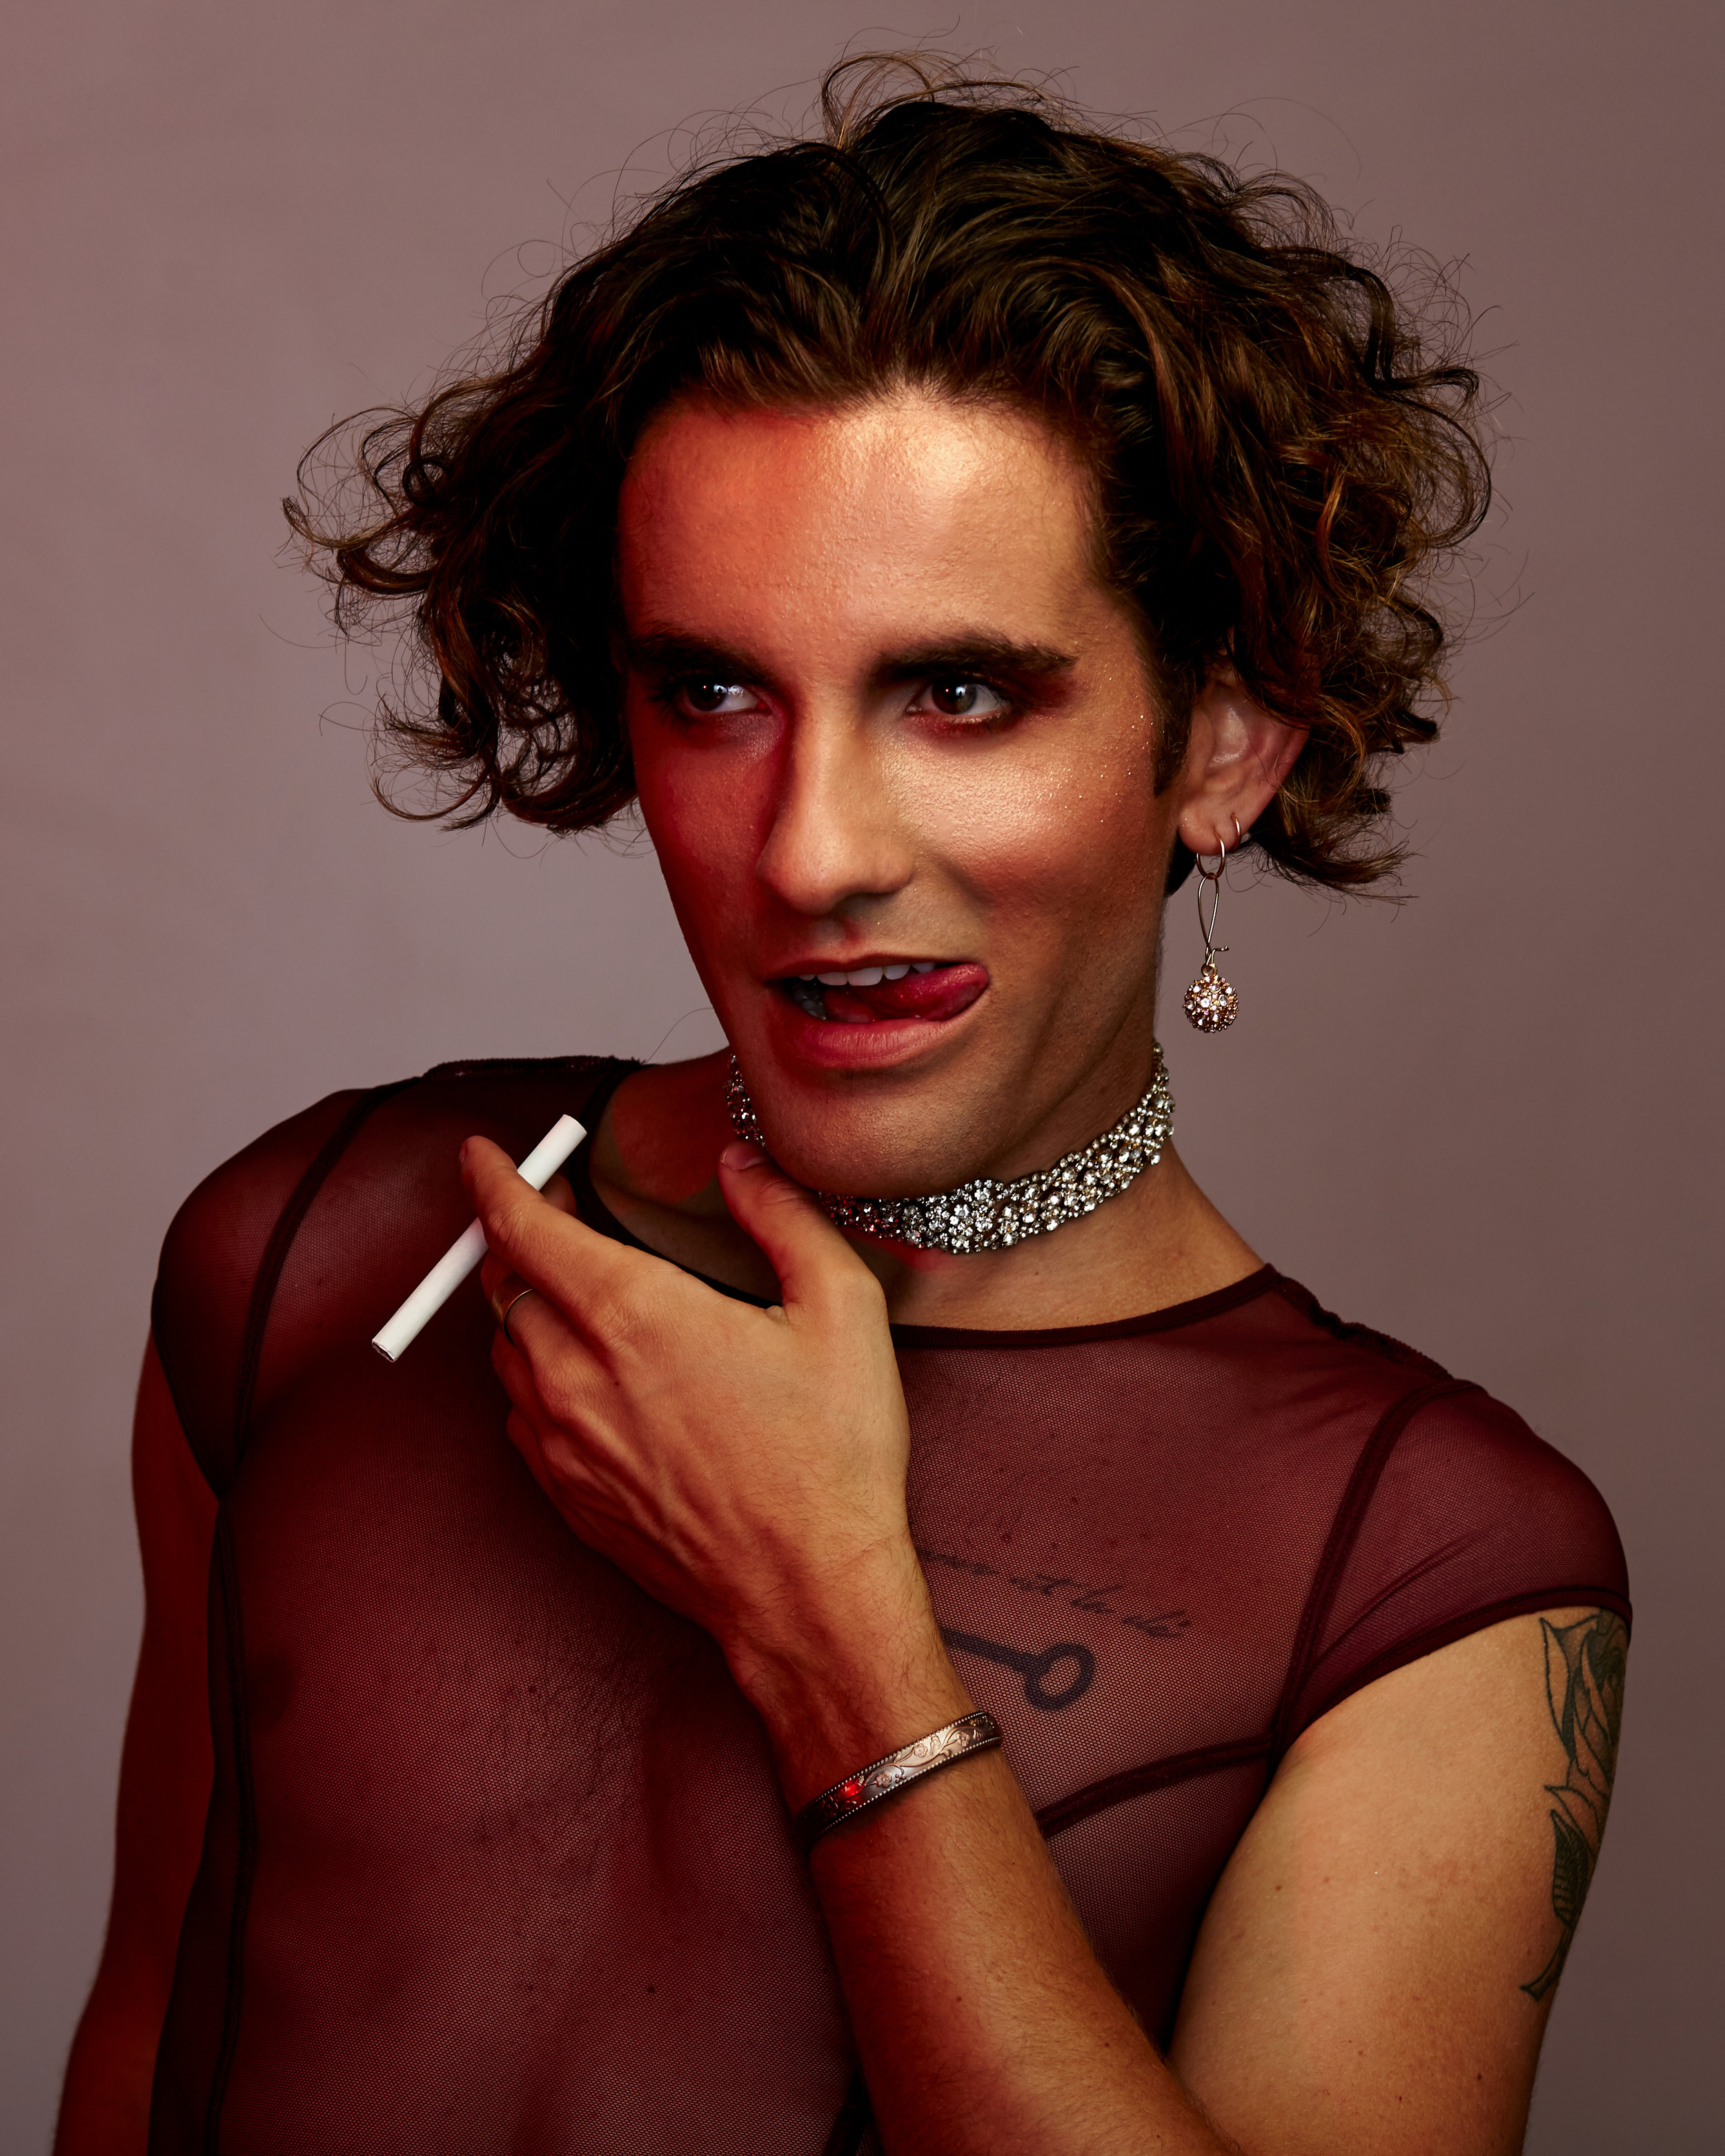
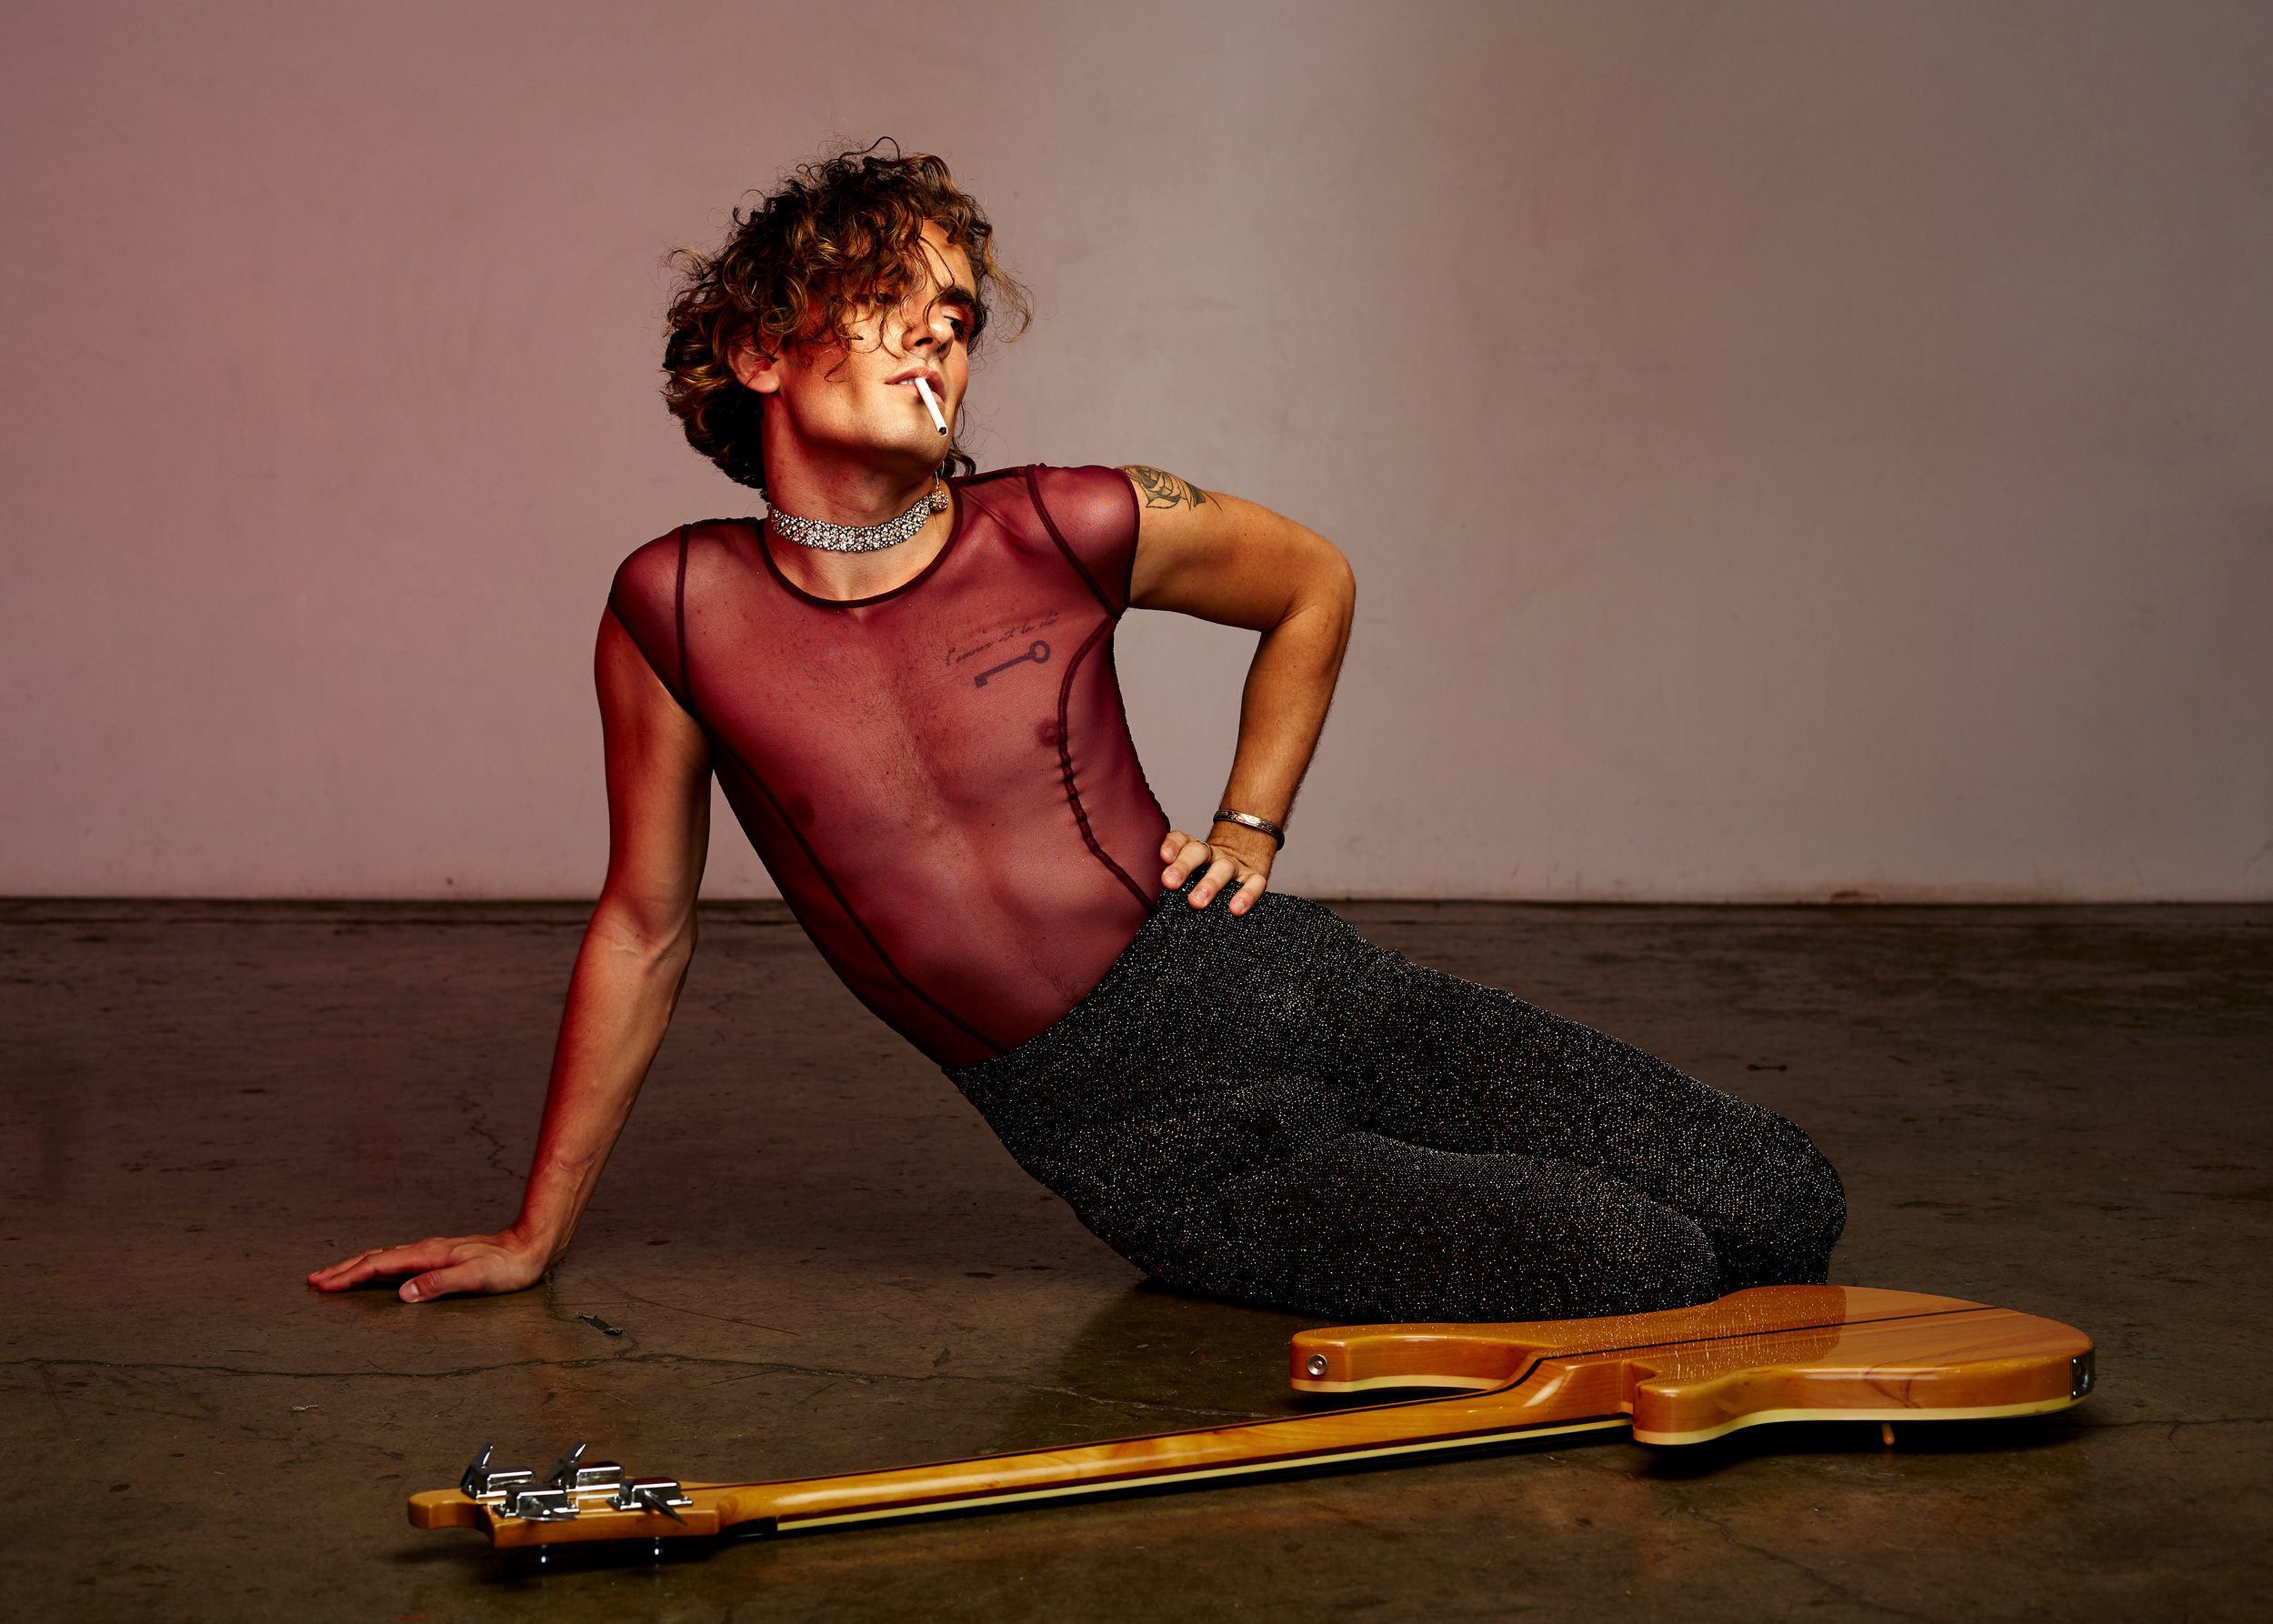
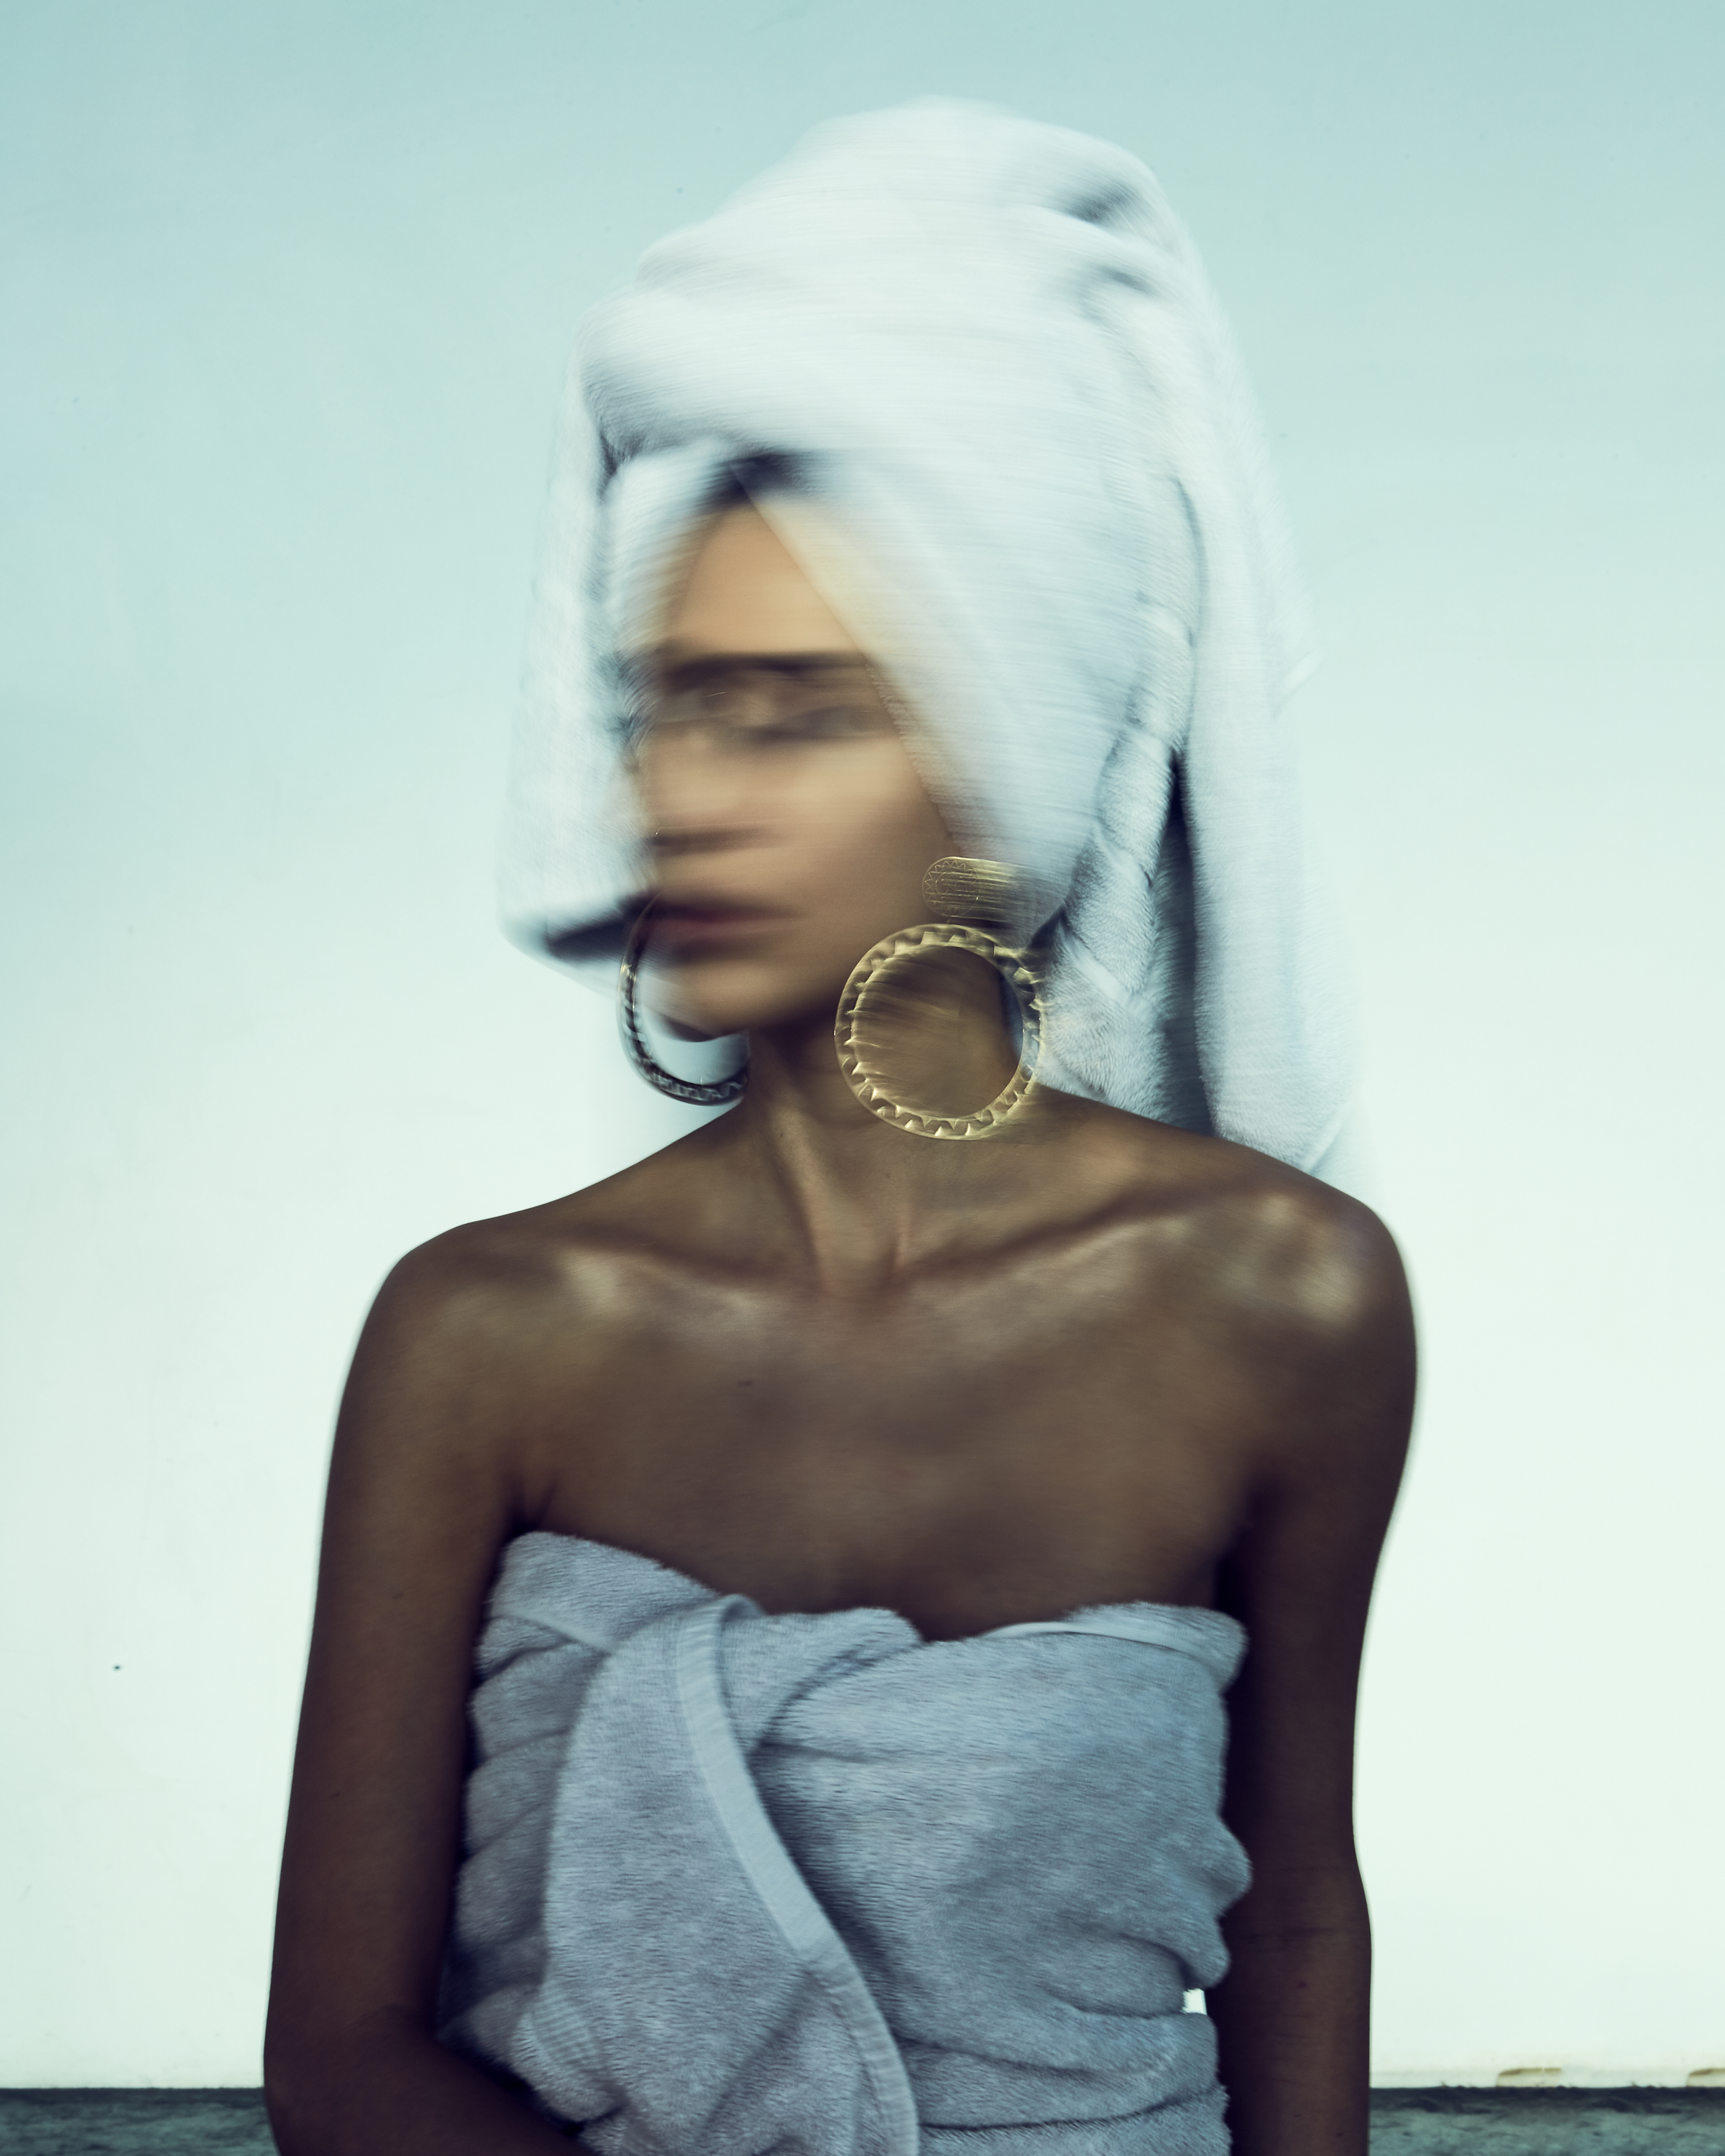
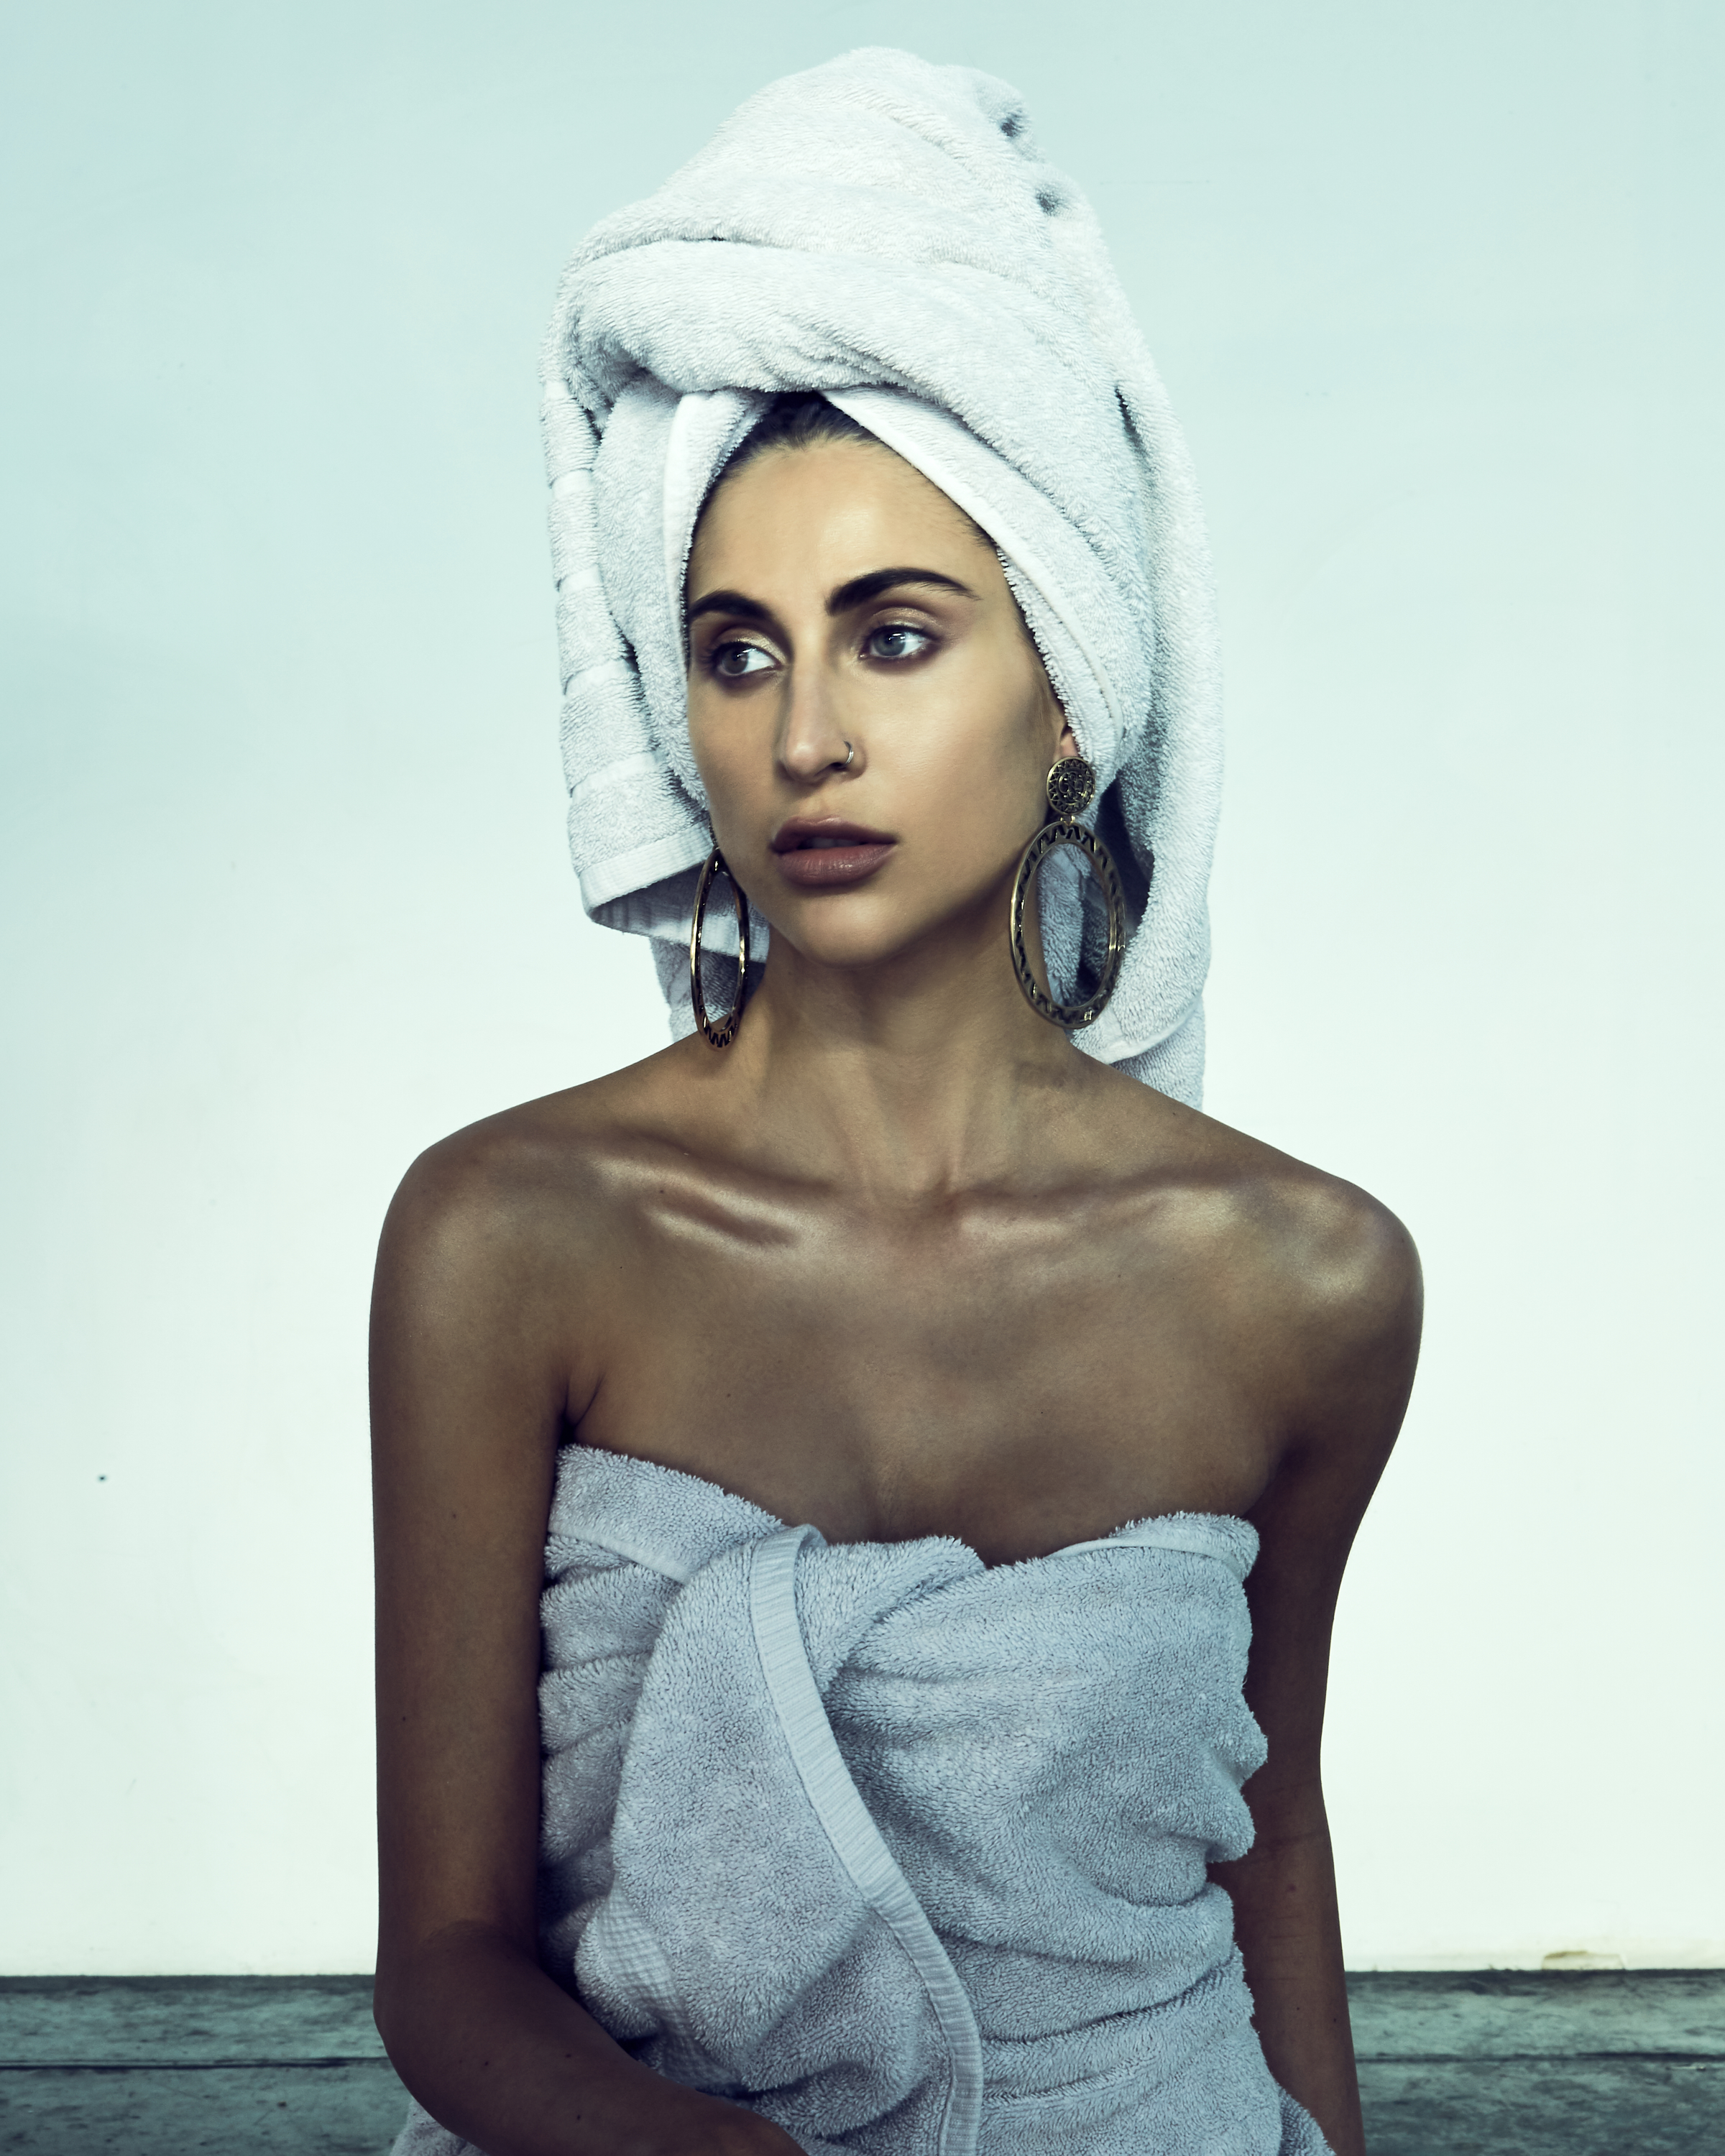
Ok first of all, here's some final images for you to look at. The overall goal of this setup is to create a big hot spot on the subjects face with sharp falloff on the body. Then, we add a light with a colored gel directly at the subjects eyes. This serves two purposes. Firstly, it adds a brilliant catch light in the eyes. Second, the color bleed from the gel fills the scene and allows you to really get creative with color.
Light #1: Fill Light
Our first light is a LARGE umbrella directly behind camera. We'll diffuse the umbrella with a large scrim. If you don't have either of these tools, use your largest light source. I also thought about using a large Elinchrom Octa for this, but elected to go with a slightly larger source.
Light #2: Key Light
Our key light is a medium octabank placed above and to the right of our subject. This light needs to be placed high enough above to act as a hair light as well. If you look at the catch lights, you can't even see it in the subject's eye. Also notice how hot the highlights are on his cheek and forehead. The shadow under his chin is also very short. Thats because the light is almost hitting straight downward from above, but not quite flat.
Light #3: Kick Light
The third light is the easiest one to setup. Put a reflector on your light (or don't, if you're using lights like Profoto with built in reflectors) and place it about 20 feet away from your subject on a diagonal. Make sure its pointed right at their eyes, and that it's the same height as they are. Put any color gel you want on this light.
One important thing to know when shooting this is that I'm not using a backdrop. I'm shooting against a white wall in my studio, and my subject is about 15-20 feet off the wall. I also experimented a bit with long exposures. For that you'd just need to adjust your aperture or lights to compensate for the slower shutter speed, and make sure you're shooting in a room without any natural light.
So thats pretty much it! Just three lights, a few modifiers and one gel. I hope this inspires you guys to experiment a little and turn this setup into something you can call you own. Check out some more of the final photos below.
Matthew is a commercial portrait photographer specializing in music/entertainment and editorial photography based in Nashville, Tennessee
